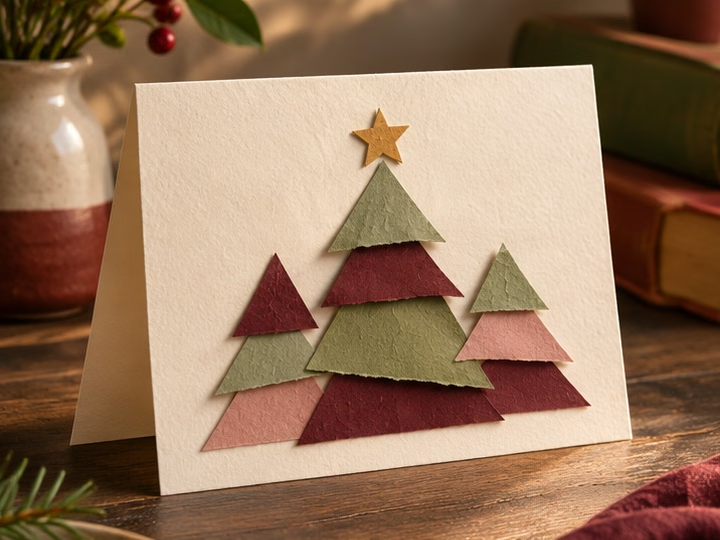
What you need for handmade Christmas cards
Gather ivory card, three shades of green paper, burgundy paper, a brown scrap, a glue stick, a pencil, a ruler and scissors. Gold paper is optional.
How to assemble handmade Christmas cards that lie flat
For a finished card measuring 10.5 × 14.8 cm, cut an ivory base of 21 × 14.8 cm. Lay it landscape on the table. Draw an arrow on a spare piece of paper and set it by the top edge as a guide. When you move the shapes around, the arrow will help you keep the tree upright and the fold on the correct side.
Score the fold and try the envelope
Measure 10.5 cm from the left along the top and bottom edges and make two light marks. Line up a ruler between them and run a bone folder or the rounded back of a teaspoon along it. Use just enough pressure to indent the card. Fold the base in half, match the corners and smooth the crease. Slip it inside the envelope you plan to use. There should be enough room to slide it out without bending a corner.
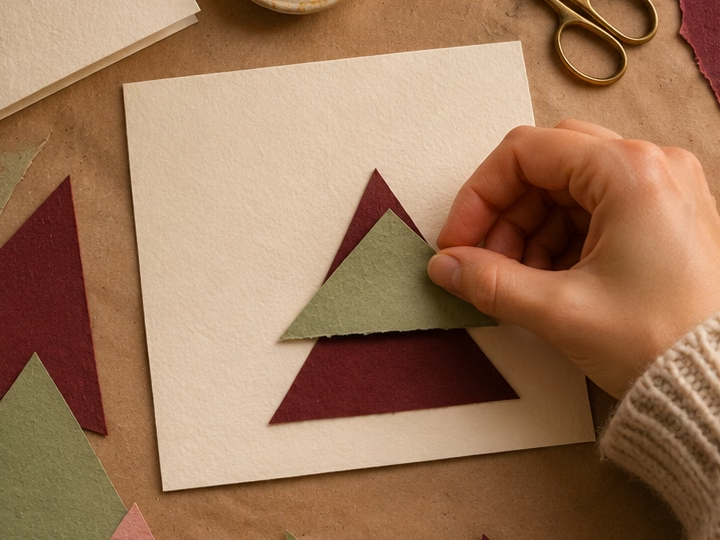
Cut the triangles for the tree
Make the bottom triangle 7 cm wide and 5 cm tall, the middle one 5.5 × 4 cm and the top one 4 × 3 cm. Mark the centre of each base and draw the tip directly above that point to give the tree two even sides. Draw on the reverse. Use dark green for the bottom layer and sage for the tip. Cut a burgundy triangle slightly larger than the assembled tree so that it shows at the edges. A brown rectangle measuring 1 × 2 cm will serve as the trunk.
Work from the trunk to the tip
Close the card with the folded edge on the left. Arrange all the pieces before gluing. Set the trunk in place, add the burgundy backing, then position the green triangles from darkest to lightest. Each one should cover the point of the triangle beneath it. Once you like the outline, glue the pieces down in that order. Smooth the tree with a clean sheet between your fingertips and the paper so the points stay flat.

For a glint of gold, cut a small star and glue it over the tip. Let the cover dry before you open the card to add the date and your message. A tiny green paper needle under your signature picks up the fir motif on the front.
Inside the card, try one of these short seasonal messages and add a memory only the two of you share.