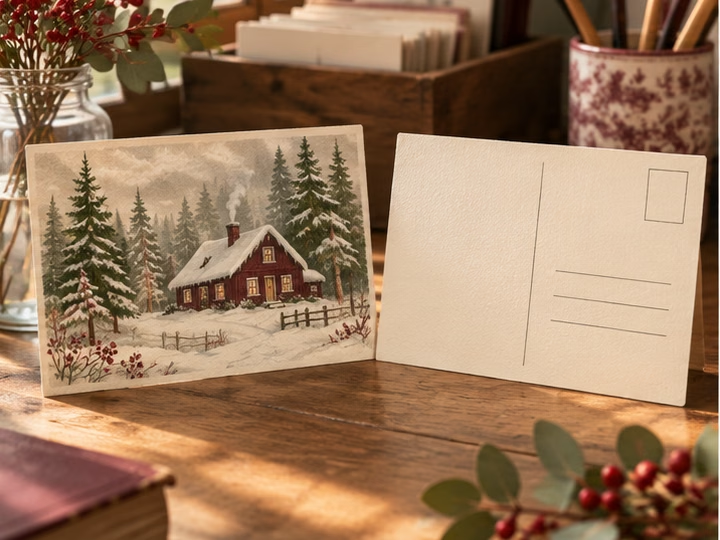
Choosing a size for Christmas postcards
Work in landscape format on a piece of card measuring 14.8 × 10.5 cm. Choose a matt surface that takes your usual pen.
How to set up Christmas postcards for double-sided printing
In your drawing or layout program, make two rectangles of the same size. One will contain the cottage illustration. The other will stay mostly blank for the message and address. If you prefer drawing by hand, scan the picture or photograph it in even light and crop it to the proportions of the front.
Draw a cottage in the snow
Sketch a little house with a pitched roof and a couple of trees beside it. Paint the walls a greyish blue and pick out one window in warm yellow. Leave a strip of white along the roof and on a few branches to suggest snow. Allow a pale border of about 5 mm if you are printing at home. Zoom out to the finished size and check that you can still make out the window. If a greeting covers part of the picture, put it on the back.
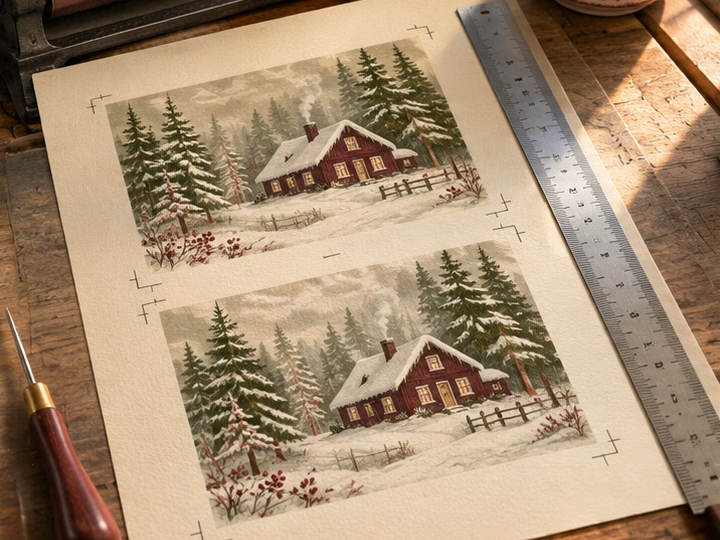
Leave enough space for the address
Draw a fine vertical line near the middle of the reverse. Put the date, message and signature on the left. On the right, leave the top corner clear for the stamp and add three or four faint lines below it for the name and address. Try your longest address in that space before printing the full batch. Keep anything you would prefer to share privately for a separate note inside an envelope, since both sides will be visible in transit.
Print a proof on ordinary paper
An A4 sheet can hold two copies, with both cottages on the front and the two address panels on the reverse. Mark the corner that enters the printer with an arrow and note which side is facing you. Print the illustrations, feed the page back into the tray and print the backs. Turn the sheet like a book and check that the address lines are the right way up. Set the print scale to 100 per cent and measure a proof before switching to card your printer can handle.
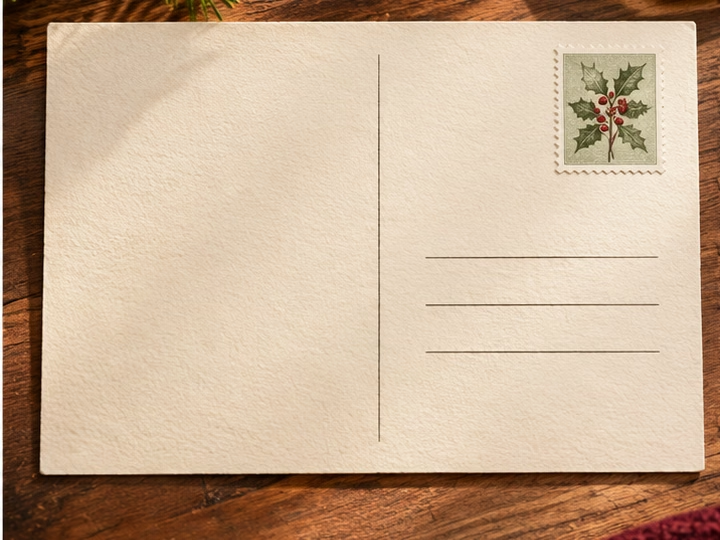
Let the ink dry before stacking the finished cards. Write the name and address clearly and check the postcode. If you are posting from Spain, consult the current Correos rates for your destination before adding the stamp and taking the card to the postbox.
To divide the back and rule a few address lines, try drawing parallel lines with a pair of triangles.
Check postage rates with Correos