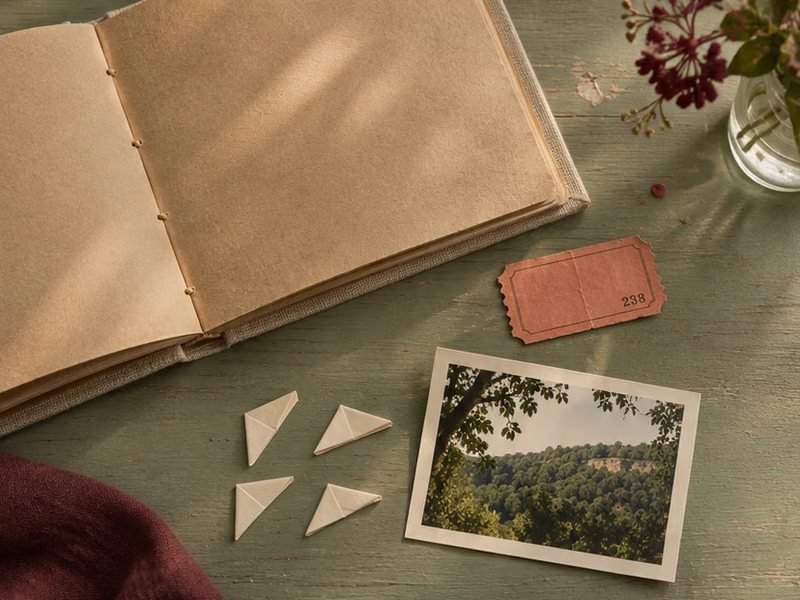
Learn how to make a scrapbook with everyday supplies
Find a notebook, a photo, a ticket or a copy, two plain paper scraps, a pencil, ruler, scissors, a glue stick and four photo corners.
How to make a scrapbook spread across two pages
Choose a small memory to work with. A market visit is plenty if you have a picture of the entrance and the ticket from the journey there. Open the notebook on the table. If it keeps springing shut, use a clip on each outer edge to hold the pages flat while you work.
Try the layout before reaching for glue
Set the photograph just above the middle of the left-hand page. Put the ticket on the facing page, roughly level with the bottom of the picture. Leave a finger’s width beside the fold so both pieces are easy to see when the book is open. Slide the plain scraps underneath to try two different backgrounds. Remove one if it distracts from the part of the photograph you most want to look at. Take a quick picture of the layout on your phone before moving anything.
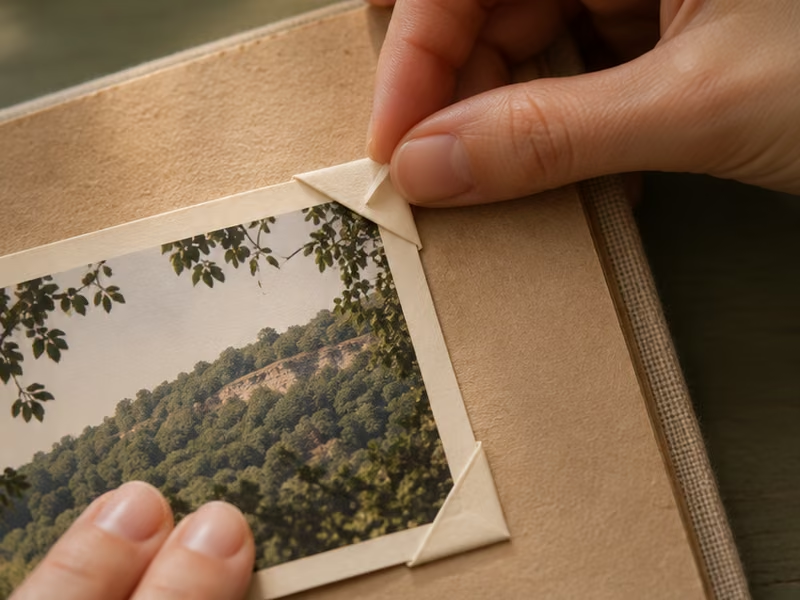
Mount the photograph by its corners
Slip a photo corner over each corner of the print. Position the whole assembly on the page, then attach the mounts according to the instructions on the packet. Ease the print out and back in to check it has a little room to move. If the ticket is irreplaceable or you want to be able to read its back, use a copy. To keep the original handy, glue a rectangle of paper along three edges and leave the top open as a pocket.
Write down what the camera missed
Leave three lines beside the ticket for the date, place and one detail the picture cannot show. For instance: “Saturday morning, Vic market. We went in for bread and came out with a recipe for pears in red wine written on a napkin.” Test your ink on an offcut of the same paper. Once the page is dry, close the notebook gently and reopen it to make sure the pocket and photograph stay put.
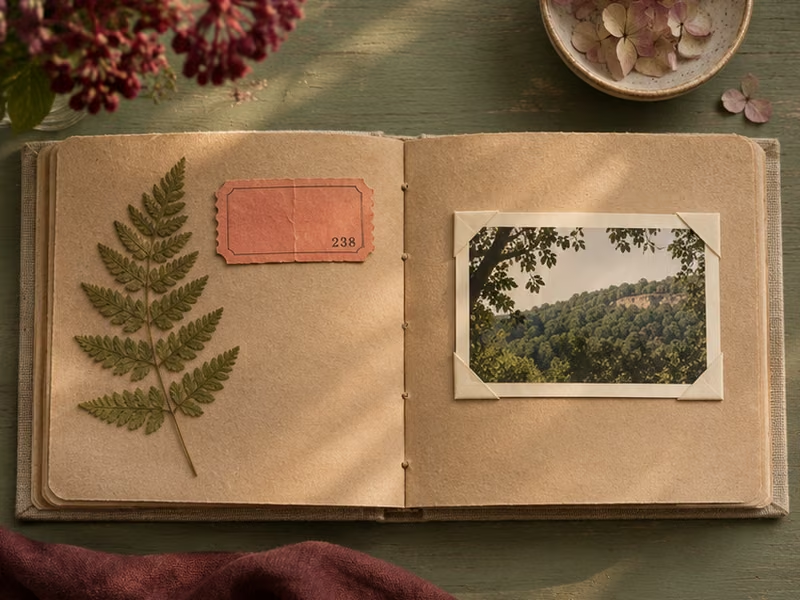
On the next spread, repeat just one element, such as the background colour or the position of the date. You can change the rest to suit a long ticket or a portrait photograph.
To add a picture from your trip, design a two-sided postcard and tuck it in a pocket so the back stays accessible.